
If you ever encounter issues with your iPhone 16 or iPhone 16 Pro, putting it in DFU (Device Firmware Update) mode can help resolve software glitches or restore the device from critical errors. DFU mode allows your iPhone to connect with iTunes or Finder without loading the iOS, making it ideal for troubleshooting.
Here’s a step-by-step guide on how to put your iPhone 16 and iPhone 16 Pro in DFU mode.
Before starting, ensure you have the latest version of iTunes (Windows) or Finder (macOS). Connect your iPhone 16 or iPhone 16 Pro to your computer using a USB-C cable.
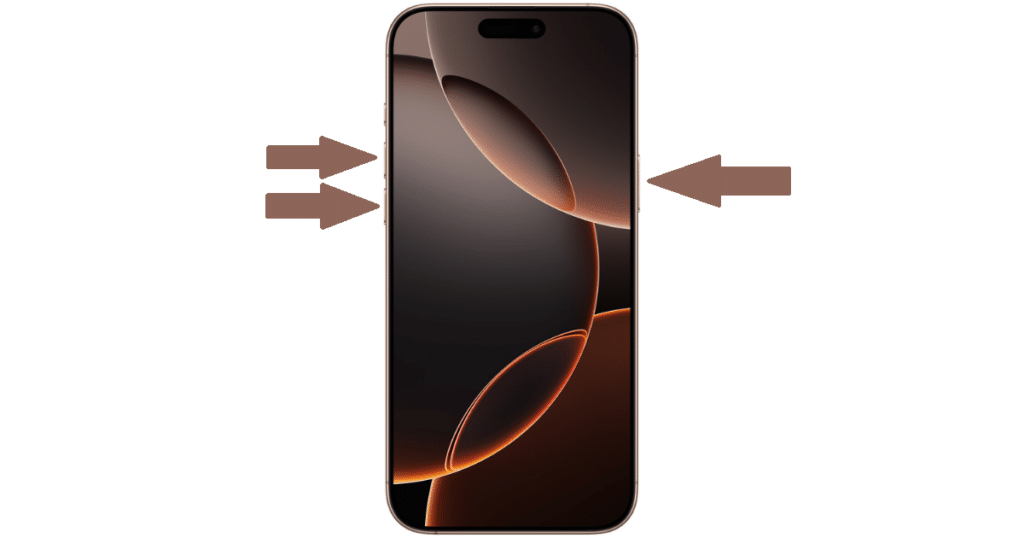
- Quickly press and release the Volume Up button on your iPhone.
- Quickly press and release the Volume Down button.
- Continue holding the Side button until your iPhone’s screen goes black.
- While still holding the Side button, press and hold the Volume Down button for 5 seconds.
- After 5 seconds, release the Side button but keep holding the Volume Down button for another 10 seconds.
Once your iPhone 16 or iPhone 16 Pro is in DFU mode, your computer should recognize it and prompt you to restore or update the device. The iPhone screen will remain blank, confirming that it’s successfully in DFU mode.
If you want to exit DFU mode without restoring, simply force restart your iPhone. Press and release the Volume Up button, then press and release the Volume Down button. Finally, press and hold the Side button until the Apple logo appears.
When to use DFU mode
DFU mode is a last resort when standard recovery options fail. Use it to restore your iPhone 16 or iPhone 16 Pro if it’s stuck in a boot loop, won’t update, or experiences severe software crashes.
By following these simple steps, you can troubleshoot or restore your iPhone 16 using DFU mode, ensuring your device stays functional even during critical issues.
We hope this guide helped you learn how to put iPhone 16 and iPhone 16 Pro in DFU mode. If you have any questions, let us know in the comments below.
Subscribe to our email newsletter to get the latest posts delivered right to your email.