iOS 18.1 brings phone call recording and transcribing functionality to all iPhone models that support the software update. The feature was initially limited to iPhone 15 Pro, but is now available to all users who can upgrade to iOS 18.1 on their phones.
Users on iPhone XR and later models can use this feature on their smartphones.
Note: iOS 18.1 beta 4 is currently available at the time of writing. The features and steps listed below may change once the final version is released. We will update this post for any needed changes.
Here is how you can record iPhone calls:
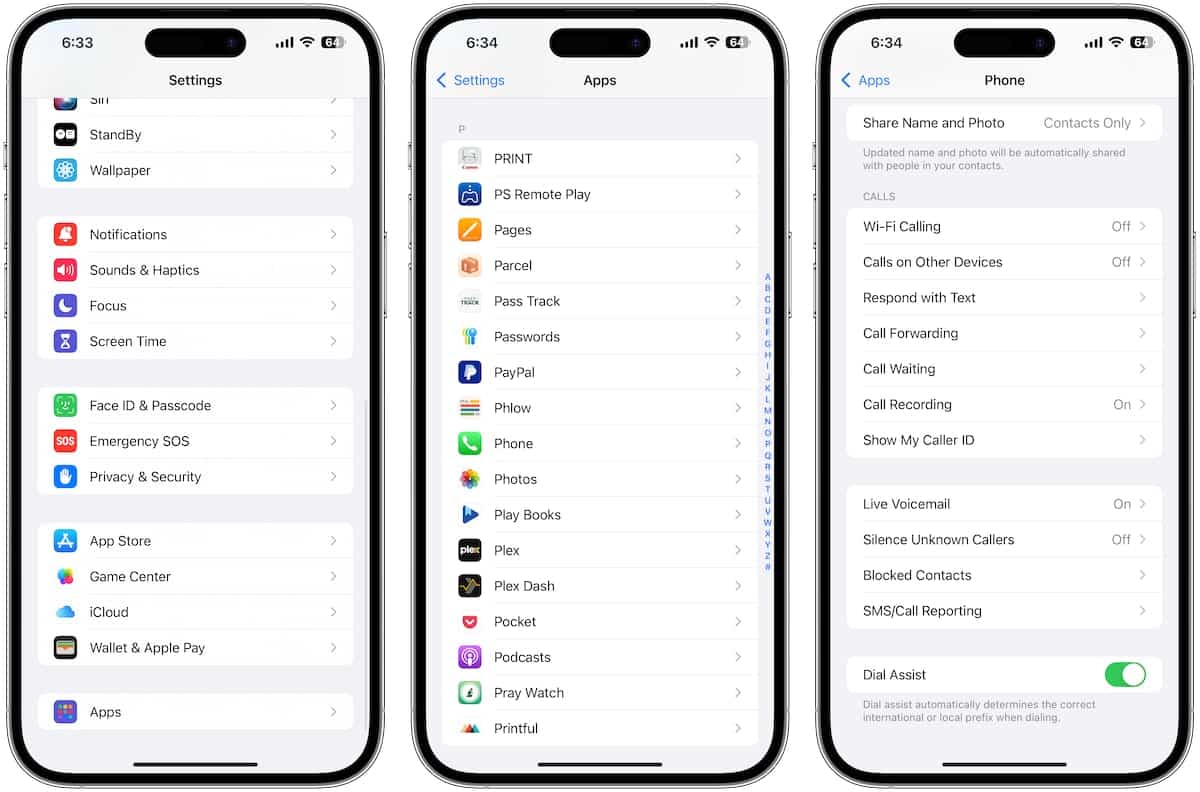
- Make sure that the feature is enabled by going to Settings > Phone > Call Recording on your iPhone. The toggle must show “On” for the feature to work.

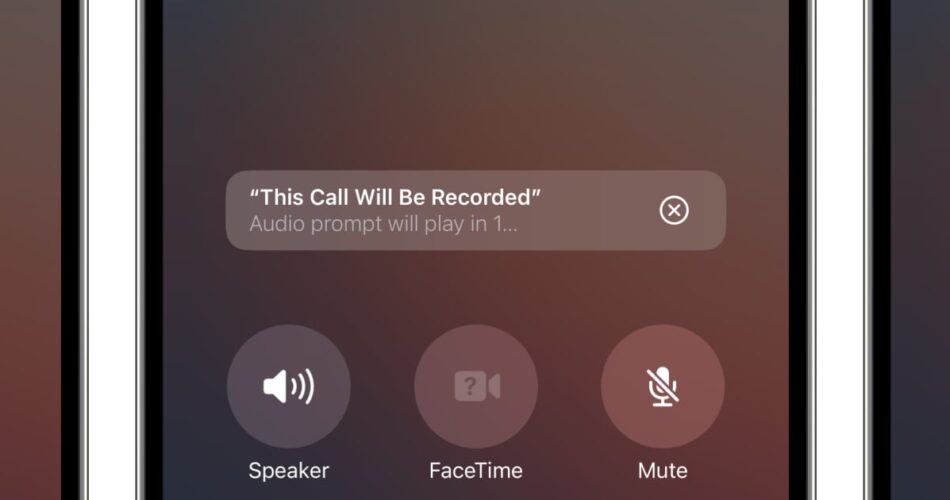
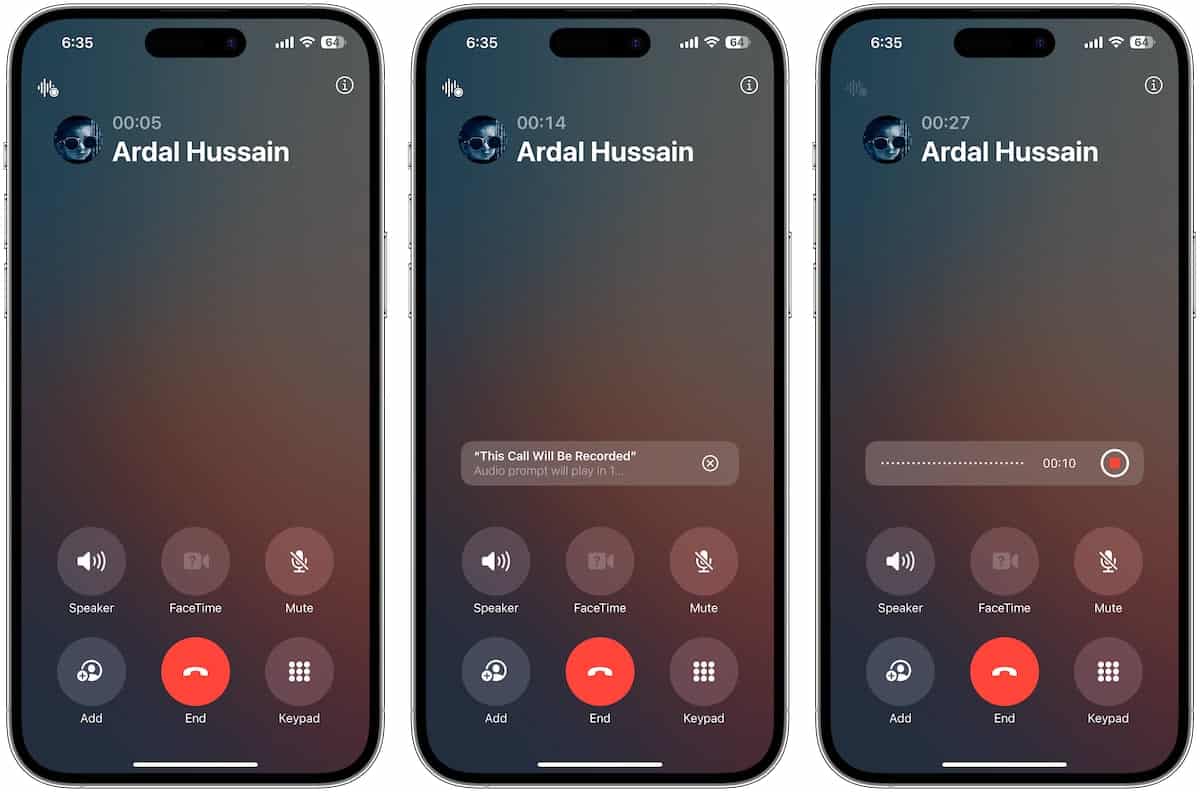
- Start a phone call with a contact. You will notice that there is a small icon on the top left corner of the screen. Tap on it and it will show a countdown timer along with a message that the call recording will start, and that the audio prompt will be played for the other call participant. This is to ensure that all participants in a call are aware that they are being recorded in order to avoid any privacy issues. You will be able to stop recording anytime during the call by tapping on the red record button.
- Once the call recording is saved, you will see a notification to “View saved call.” in the Notes app. This is where you can see the audio recording. Simply tap the play button to start playback the complete call recording. The recording will also be transcribed automatically in the same note.
The recording is saved just like any other note in the Notes app. It can be shared or saved using any other app. The recording will also be synced to your other devices such as Mac and iPad, if you have iCloud syncing enabled.
Would you use this feature often? How do you feel about other iPhone users being able to easily record your call with them? Let us know in the comments below!
Subscribe to our email newsletter to get the latest posts delivered right to your email.